
Well I had every intention of doing this tutorial last week but last week flew by so here it is today just a wee bit later than planned :-) These buttons are super easy to make but because I'm a visual person I have included lots of photos to make each step clear and easy to follow.

To make the circles I use my Fiskars circle template that I use for scrapbooking. Love it when my craft supplies have many uses :-)!

On a double layer of your chosen fabric and using a fabric marking pen, draw a circle 1/2 inch bigger than your desired finished button size.You can of course make any size you want which is the beauty of making your own buttons. For this tutorial I have drawn a 1 1/2 inch circle which will produce 1 inch sized finished buttons. I do suggest for your first buttons to make slightly bigger ones as the little ones are just a bit fiddly and tricky when turning and stuffing.

Cut out the circle through both layers and with right sides together sew around the perimeter using a very scant 1/4 inch seam leaving a finger width size gap for turning and stuffing, reversing at each end to reinforce the seam ends. Snipping into the seam allowance every 1/4 - 1/2 inch will produce a smoother circle once turned right sides out.

Finger press the opened seam edges inwards to make it easier to hand sew the opening closed once stuffed.

Using some polyester stuffing and a stuffing/turning tool fill your turned circles as firmly as you can as this will push out the seam ending up with a more even and smoother circle shape.

Now I've just included this photo to show you what I use for turning and stuffing. It is simply a thin metal rod on a wooden handle with a slot at the end for turning tubes of fabric for handles etc... It was made by a quilting friends husband and I have had it for over 15 years. It is one of my most used tools so I can thoroughly recommend looking out for one if you don't have a tool similar to this. I'm sure you can buy something similar in a quilting shop.

Once stuffed, carefully sew up the opening endeavouring to keep the curve of the circle as smooth as possible. I use a ladder stitch for sewing up seams like these as it is almost invisible but also strong. A ladder stitch is made by slipping the needle along and inside the folded edge of the seam then crossing directly over to the opposite side and slipping the needle along and inside of the fold. . I also use a double length of thread and poke or pop the knots through the fabric so they are buried inside the button/stuffed circle.

Here is my tiny little sewn up button which doesn't look perfectly round does it but not to worry because the next step of adding the perle thread will cover up any imperfections ;-) The smaller the button the harder it is to get it looking perfectly round ...

Using a 10 to 12 inch length of perle cotton tie a single knot in one end and poke your needle through the middle of the button as shown in the above photo. Pull all the way through carefully pulling the knot through the first layer of fabric so it is buried in the middle. It should 'pop' through the fabric, just be careful you don't pull too hard and it comes all the way through the other side. This method of burying the knot in the layers is what I use when I'm hand-quilting.

Wrapping the cotton around half the button bring your needle back up through the middle again.

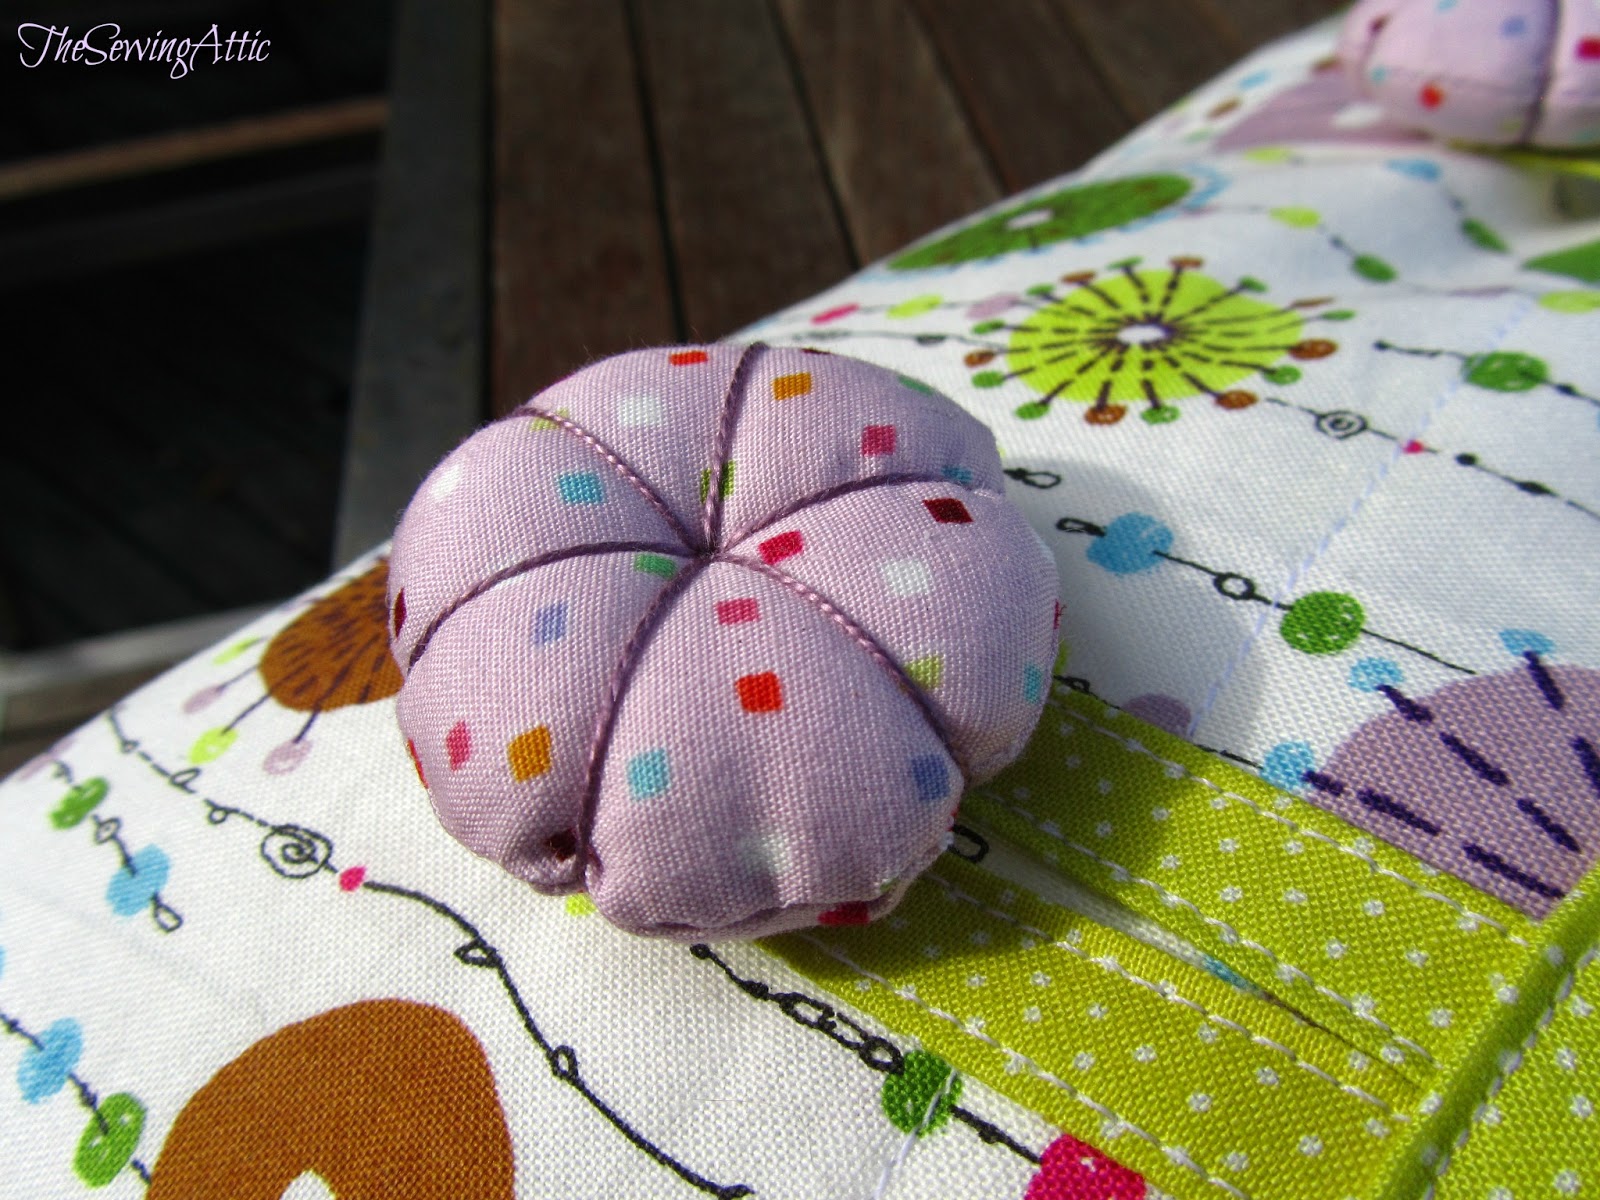
Keep wrapping the cotton around the button and bringing the needle up through that same middle hole, dividing the circle into 6 even segments.

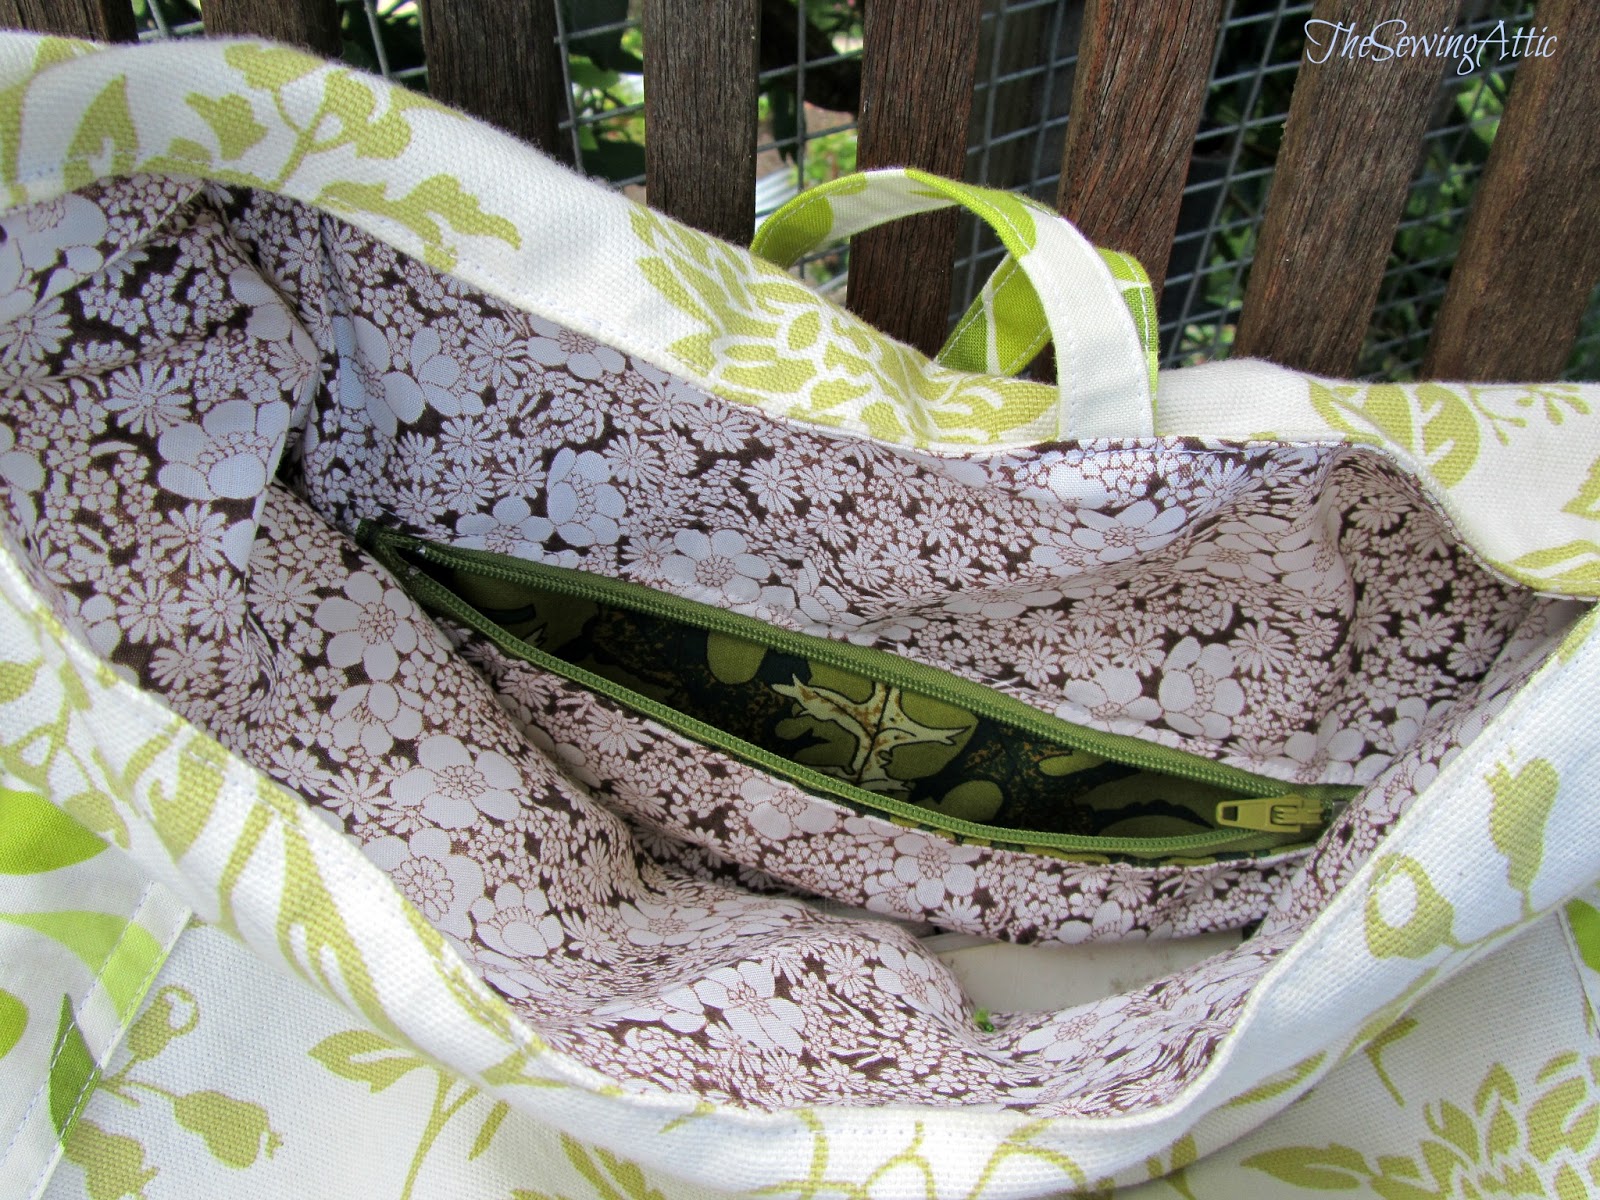
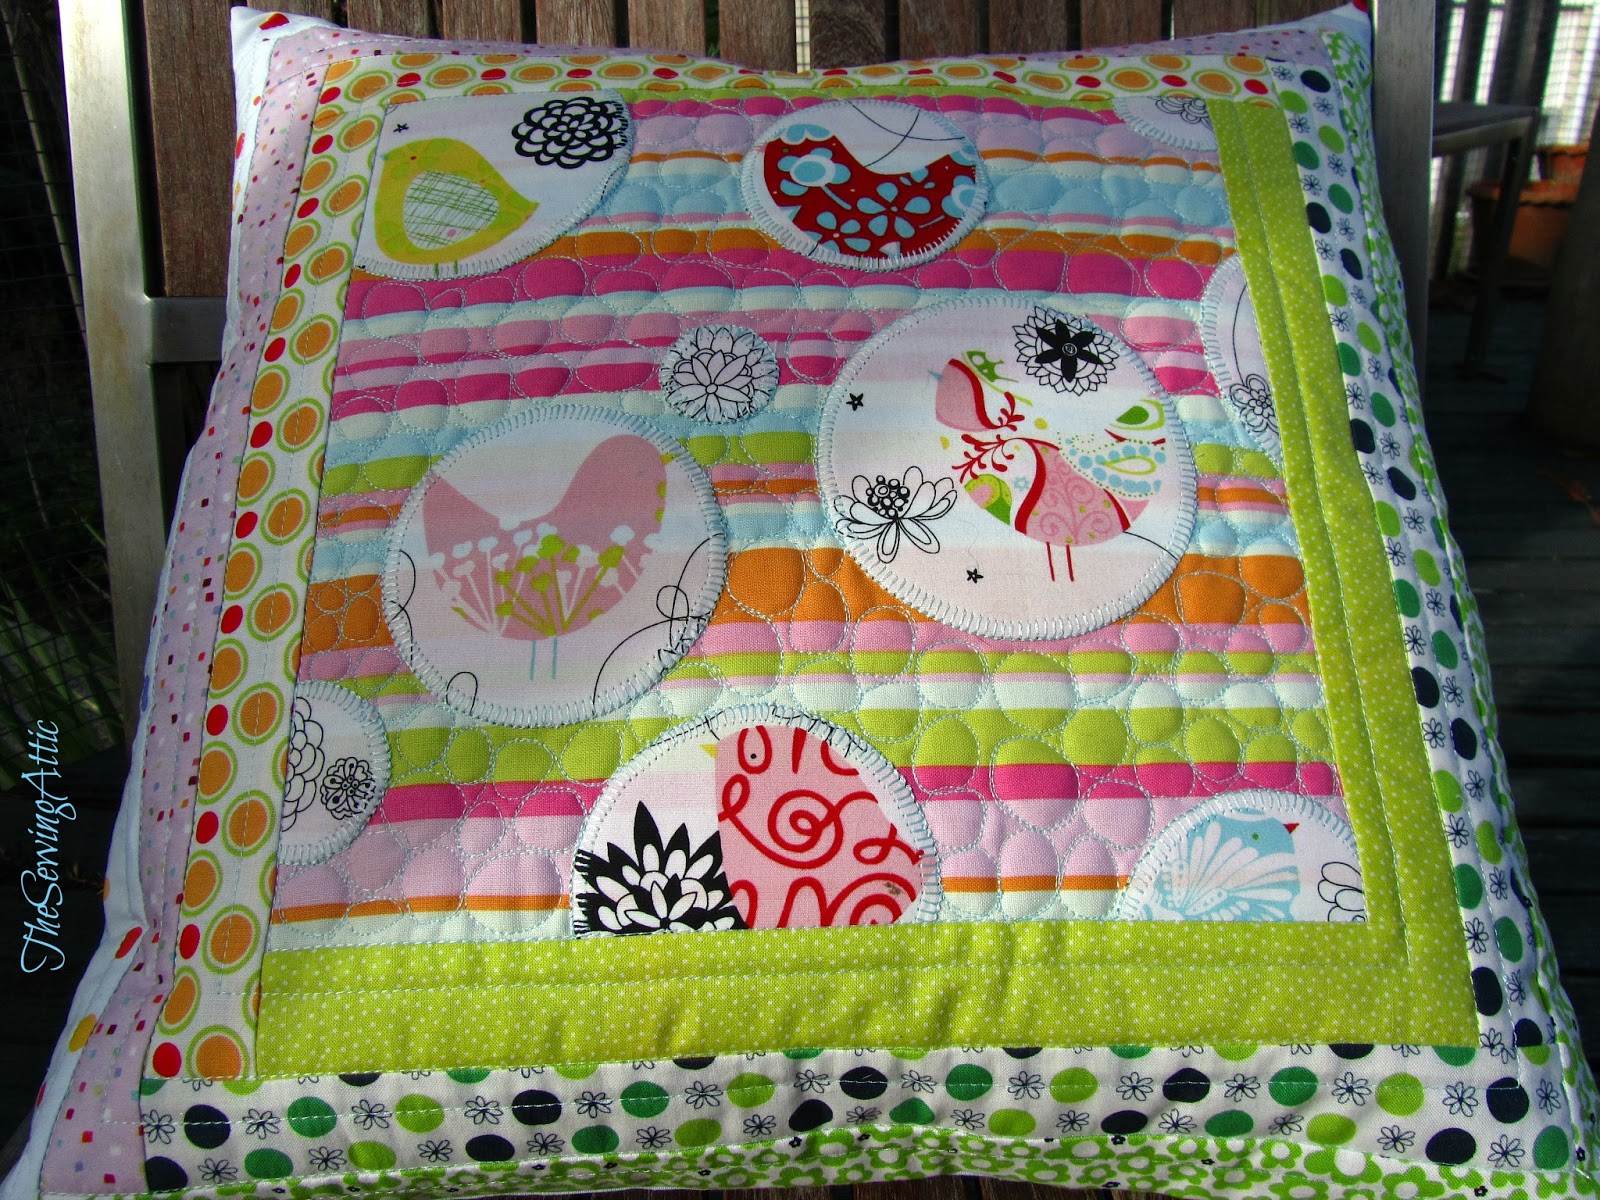
When I've finished wrapping the perle cotton around I leave the remaining length of cotton attached as I like to use it to attach it to a finished project like a pillow closure here or my Boho bags here.
Hope you have found this tutorial easy to follow and are inspired to make you own buttons for your next project.